Project: Implementation and Development of a Server-Based, Remote Computing Environment via a Raspberry Pi 4 Model B for both Recreation and Productivity Purposes
Clas/Semester: ECE 5725/Spring 2021
Team: Nidhish Gokhale (nvg8)
Date: 05/19/2021
Lab Section: Monday
Professor: Joe Skovira
University: Cornell University
Objective/Problem Statement
COVID-19 is a variation of a viral disease caused by a coronavirus identified, originally, in 2019, leading to the onset of a pandemic. During these times, technology has become an integral portion of our day-to-day activities, from everyday communication to fulfilling academic and professional responsibilities. As such, it has become increasingly significant to have established, reliable network connections online to facilitate continued interactions among individuals, whether these exist for recreation or productivity. This project attempts to further enable the accessibility of an individual's personal system by simplifying the method through which many users access their data on their computing devices.
The final project video demonstration (demo link) can be found and watched here.
Introduction
In order to accomplish the objective described above, two steps were taken in increasing complexity. The first of these was implementing a Minecraft Server upon the Raspberry Pi 4 in order to act as a sort of "test" for the networking and server-hosting abilities of this machine. Moreover, this satisfies the proposed and salient goal of promoting human interactivity through server-oriented or network-based technologies, even if it may be categorized as recreational. After ensuring that the capabilities of the Raspberry Pi 4 were sound, the undertaking of more advanced development began in the form of designing and injecting a fully Remote Desktop environment on the Raspberry Pi 4. This would allow any user the ability to access any desired personal computer or otherwise from anywhere on the planet, seamlessly streaming its hosted contents to it. Inputs and changes would then be transmitted and communicated back effortlessly. As desktop-grade and more classes of sophisticated computing architecture are released, it is becoming progressively more strenuous in order to transport these, typically, bulky machines in question. This venture seeks to mitigate the hardship encompassing the transportation of these machines, as it incredibly improves the portability of them, since even though their capabilities are beyond the scope of the Raspberry Pi 4, they can still be acquired anywhere remotely. This particular segment of the project satisfies the objective of amplifying productivity, as there would no longer be a need to transport large-scale computers in order to harness their power.
Design
Part 1: Minecraft Server
The primary and less complex portion of this project surrounded the implementation of a globally accessible Minecraft Server hosted on the Raspberry Pi 4 itself. This is accomplished by initially setting up to be internally accessible and expanding its reachability through a process known as port forwarding.
-
In order to set up the server locally first, a few beginning pieces of information had to be obtained. The first of these is the Raspberry Pi 4's internal internet protocol (IP) address on its current network. This is received through the
hostname -Iterminal command, which outputs the desired information, and is necessary in order to not only host, but also access the server through the Minecraft game. Following this, it is important to enable secure shell (SSH) connections and download the packages necessary to run the server. In order to accomplish this on vanilla Minecraft, this project makes use of Java, Spigot, and Bukkit (see References below), and their repositories and utilities can be extracted through terminal commands. Java can be installed viasudo apt install default-jdk, and this package is necessary not only to launch the server, but also to run and interpret any other ".jar" files alongside general Minecraft utilities. -
Following this process, once Java is installed, the "minecraft" directory, where the server files will be stored and run, is created and moved to via
mkdir /home/pi/minecraftandcd /home/pi/minecraft, respectively. In this directory, Spigot and Bukkit files and directories are obtained throughwget https://hub.spigotmc.org/jenkins/job/BuildTools/lastSuccessfulBuild/artifact/target/BuildTools.jar. From this repository, the "BuildTools.jar" file is extracted; this file contains a fully automated, executable script to establish the remainder of the base server and will then run byjava -Xmx1024M -jar BuildTools.jar --rev 1.16.5. At the conclusion of this, the basic server will be ready and can be hosted viajava -Xms512M -Xmx1008M -jar /home/pi/minecraft/spigot-1.16.5.jar nogui. The command can be fragmented, with each individual element/segment being analyzed.

- java- Uses the updated, installed jdk package/interface to run the command
- -Xms512M- This flag sets a lower bound/threshold for the allocated amount of RAM the server can run on; in this case, the value is set at 512 MB and can be shifted by changing the "512M" portion of it
- -Xmx1008M- This flag sets an upper bound/threshold for the allocated amount of RAM the server can run on; in this case, the value is set at 1008 MB and can be shifted by changing the "1008M" portion of it
- /home/pi/minecraft/spigot-1.16.5.jar- The file and directory which is run by the Java-based command to instantiate the server
- nogui- Disables the otherwise default GUI to operate the server and utilize certain functionalities; these features are reinstated within the active terminal window, as that now acts as the "server GUI"
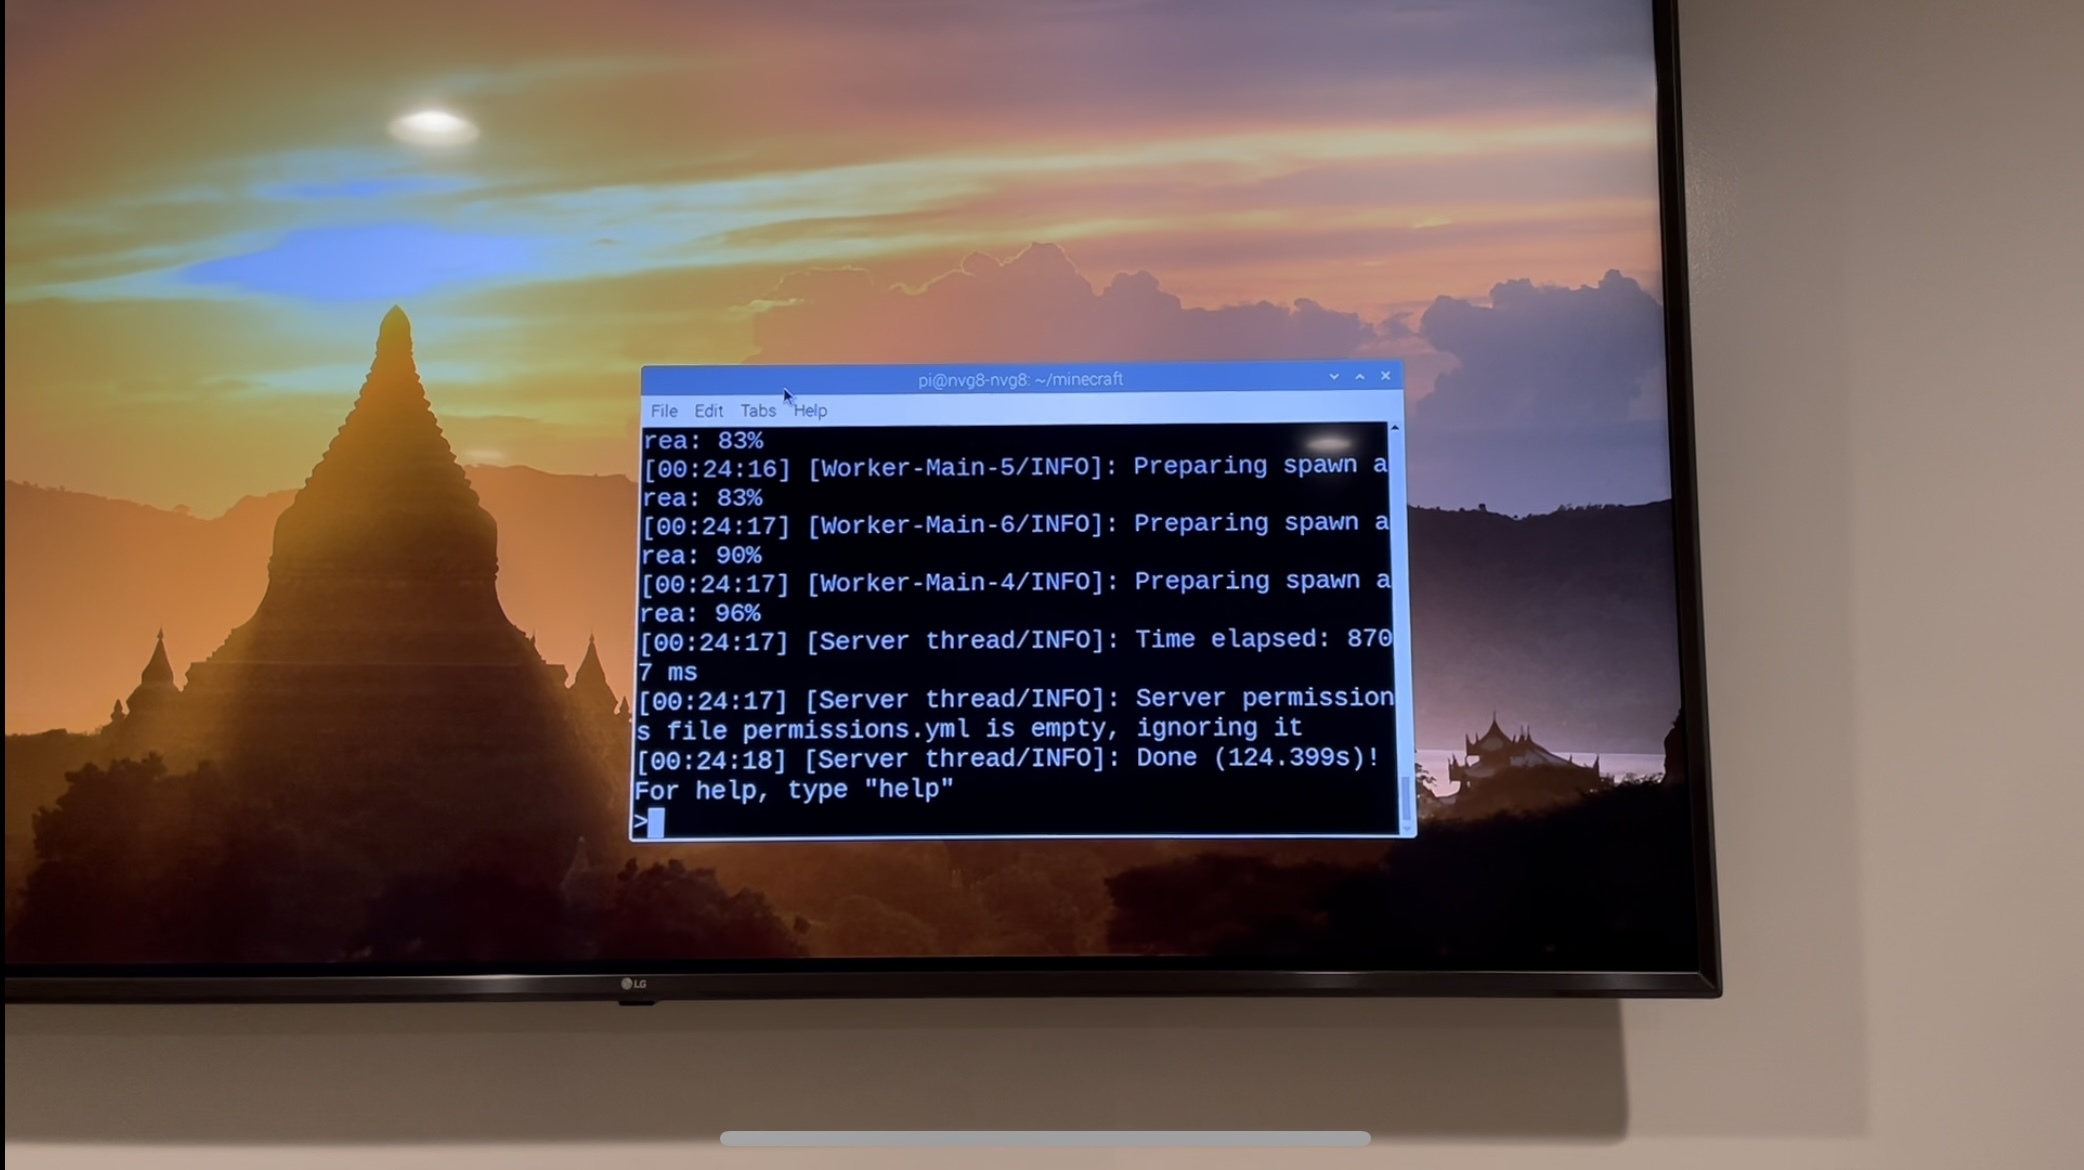
- From this point, the active terminal window where this command is executed is now transformed into a completely operation window for server command execution. This includes administrator rights over server properties as well as ceasing its functionality via
stop.
- The final step is making it possible for any individual anywhere on the planet to join. This is accomplished by port forwarding the internal IP address of the Raspberry Pi 4 over the network for the designated Minecraft port of "25565". By opening this specific port for the internal IP address (gotten in Step 1) via both TCP and UDP on a network, any Minecraft user/player can join a hosted server on the Raspberry Pi 4 over the network through its external or public IP address. This can be found at a variety of sites, including here.
- After this, the server is, essentially, fully functional
- The only major aspect of the Minecraft Server remaining is the injection of mods and/or modification in its properties in the "server.properties" and other related files (these changes can be identified in the Cornell Box project files submission)
Part 2: Fully Remote Desktop Environment
The concluding, more sophisticated segment of this project involved utilizing Steamlink as a base package for initializing the connection between two systems and initiating the information/data exchange between these two networked nodes (in this case, the host computer and receiving computer - the Raspberry Pi 4). This is performed by, initially, utilizing Steamlink to simply stream games in one's Steam library (a gaming program/game launcher) across platforms and, then, modifying it to bypass and go beyond simply streaming game content to the entirety of one's desktop machine.
-
Because Steamlink is relatively more "expensive" and taxing on graphical processing unit (GPU) of the machine it is run on, in this case the Raspberry Pi 4, it is highly recommended (as testing has demonstrated) that the Raspberry Pi 4's dedicated GPU memory split be changed to 256 MB. This is done by running
sudo raspi-configand, in the initialized prompt, changing the corresponding setting followed by a reboot of the hardware, done through thesudo rebootcommand. Alternatively, this change can be done by altering a line in config.txt to the appropriate amount of GPU memory. -
After this basic step (Step 1), the associated packages for Steamlink can be received, downloaded, and installed through the
sudo apt install steamlinkcommand. Once this is done (a, rather, much simpler process than the Minecraft Server), it can be started for the first time through the simplisticsudo steamlinkcommand. It will then run Steamlink, and the setup tutorial wizard must be finished in order to establish a network link between the host machine and the Raspberry Pi 4 which will act as the foundation for the remainder of the Remote Desktop environment.
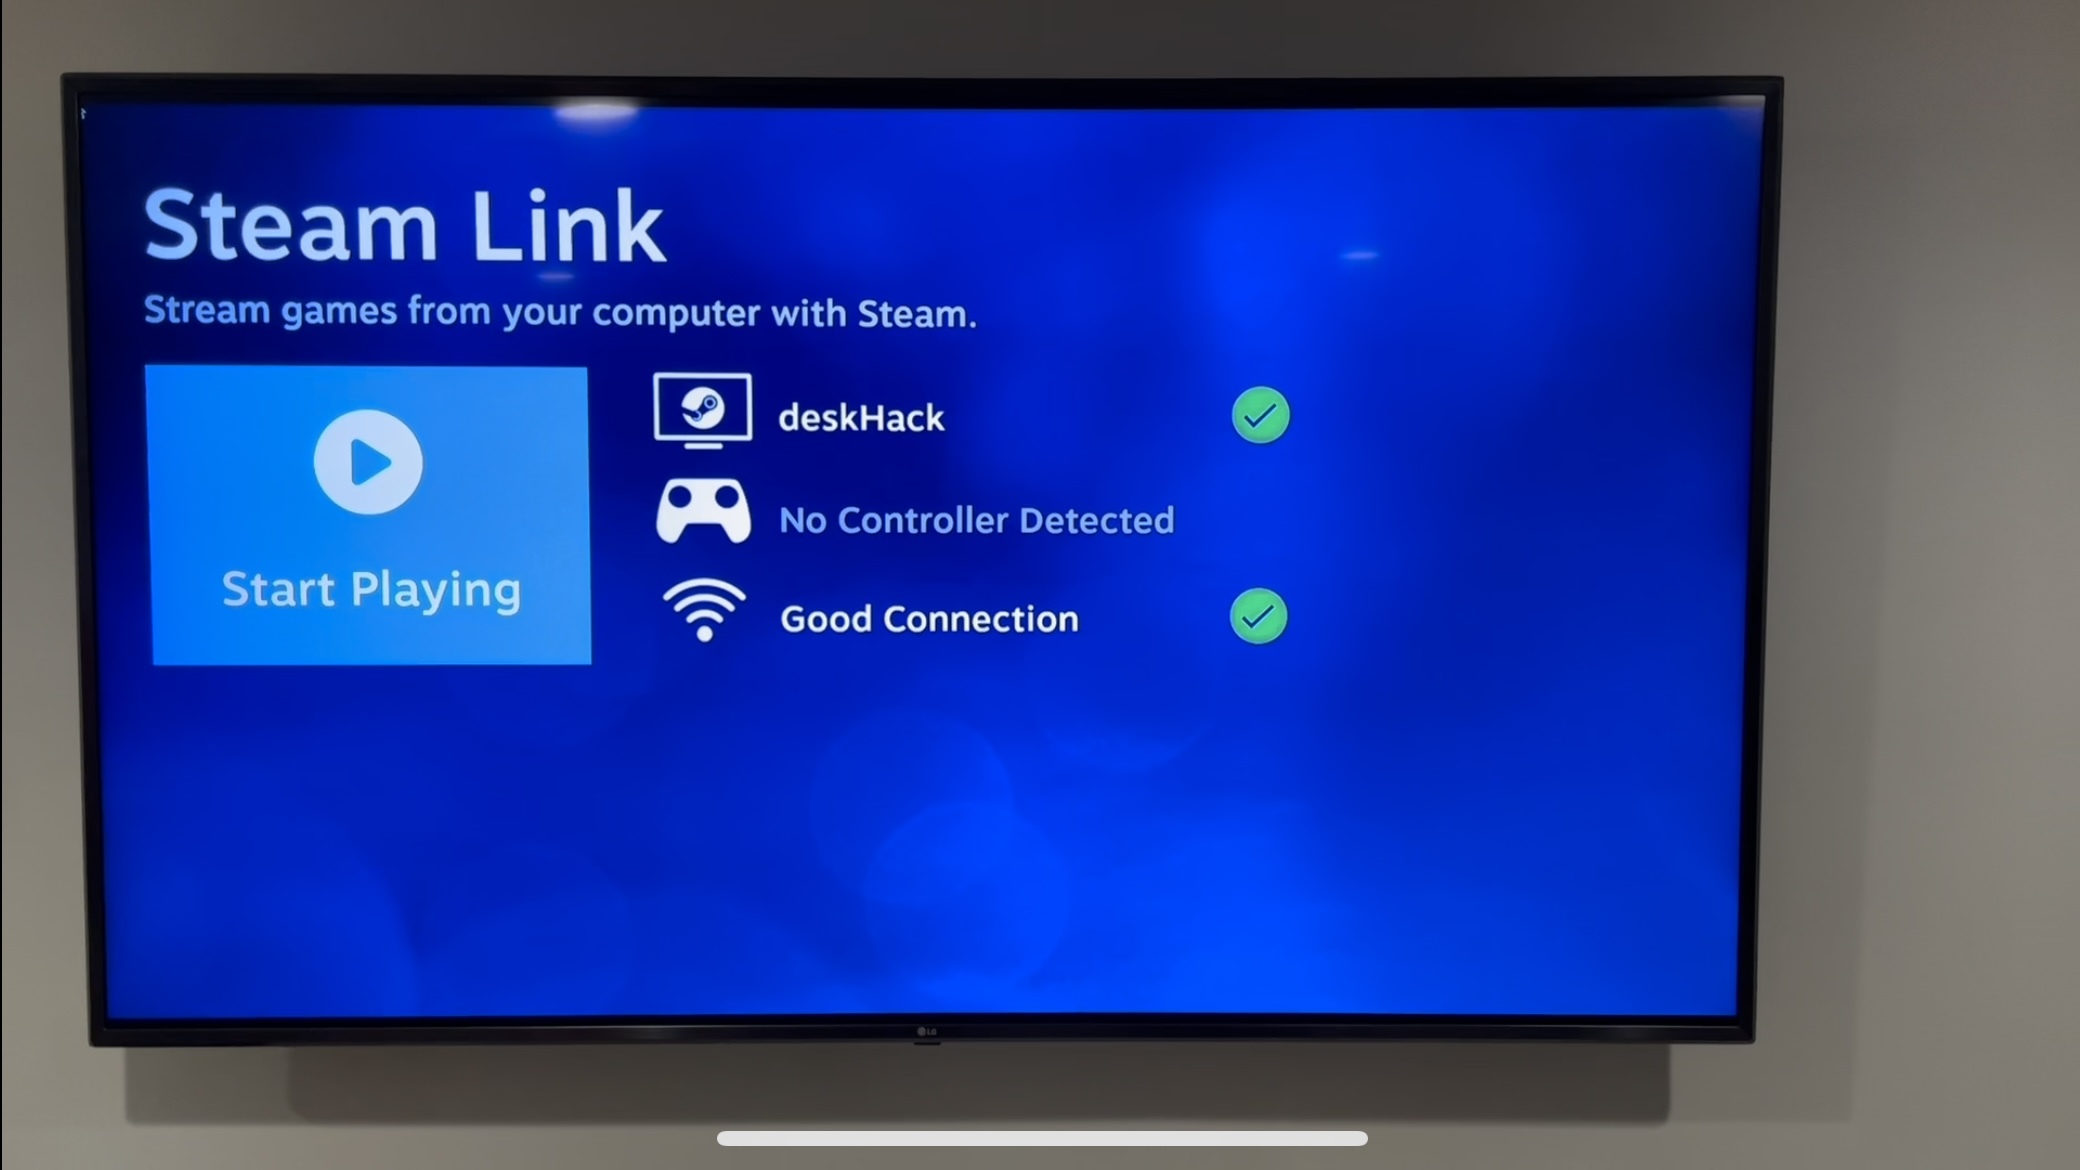
- From this point onward, one's personal Steam library should now be accessible through the Steamlink software, and all of their games can be streamed seamlessly and remotely from any location via the Raspberry Pi 4. Modifications were made to this package to reduce and minimize latency and maximize bandwidth at the expense of other properties, as these are the most critical and crucial attributes of a remote gaming experience (and, eventually, a Remote Desktop experience). The final step (Step 4) will involve altering this basic package into one capable of streaming high level/grade computer output to the Raspberry Pi 4.
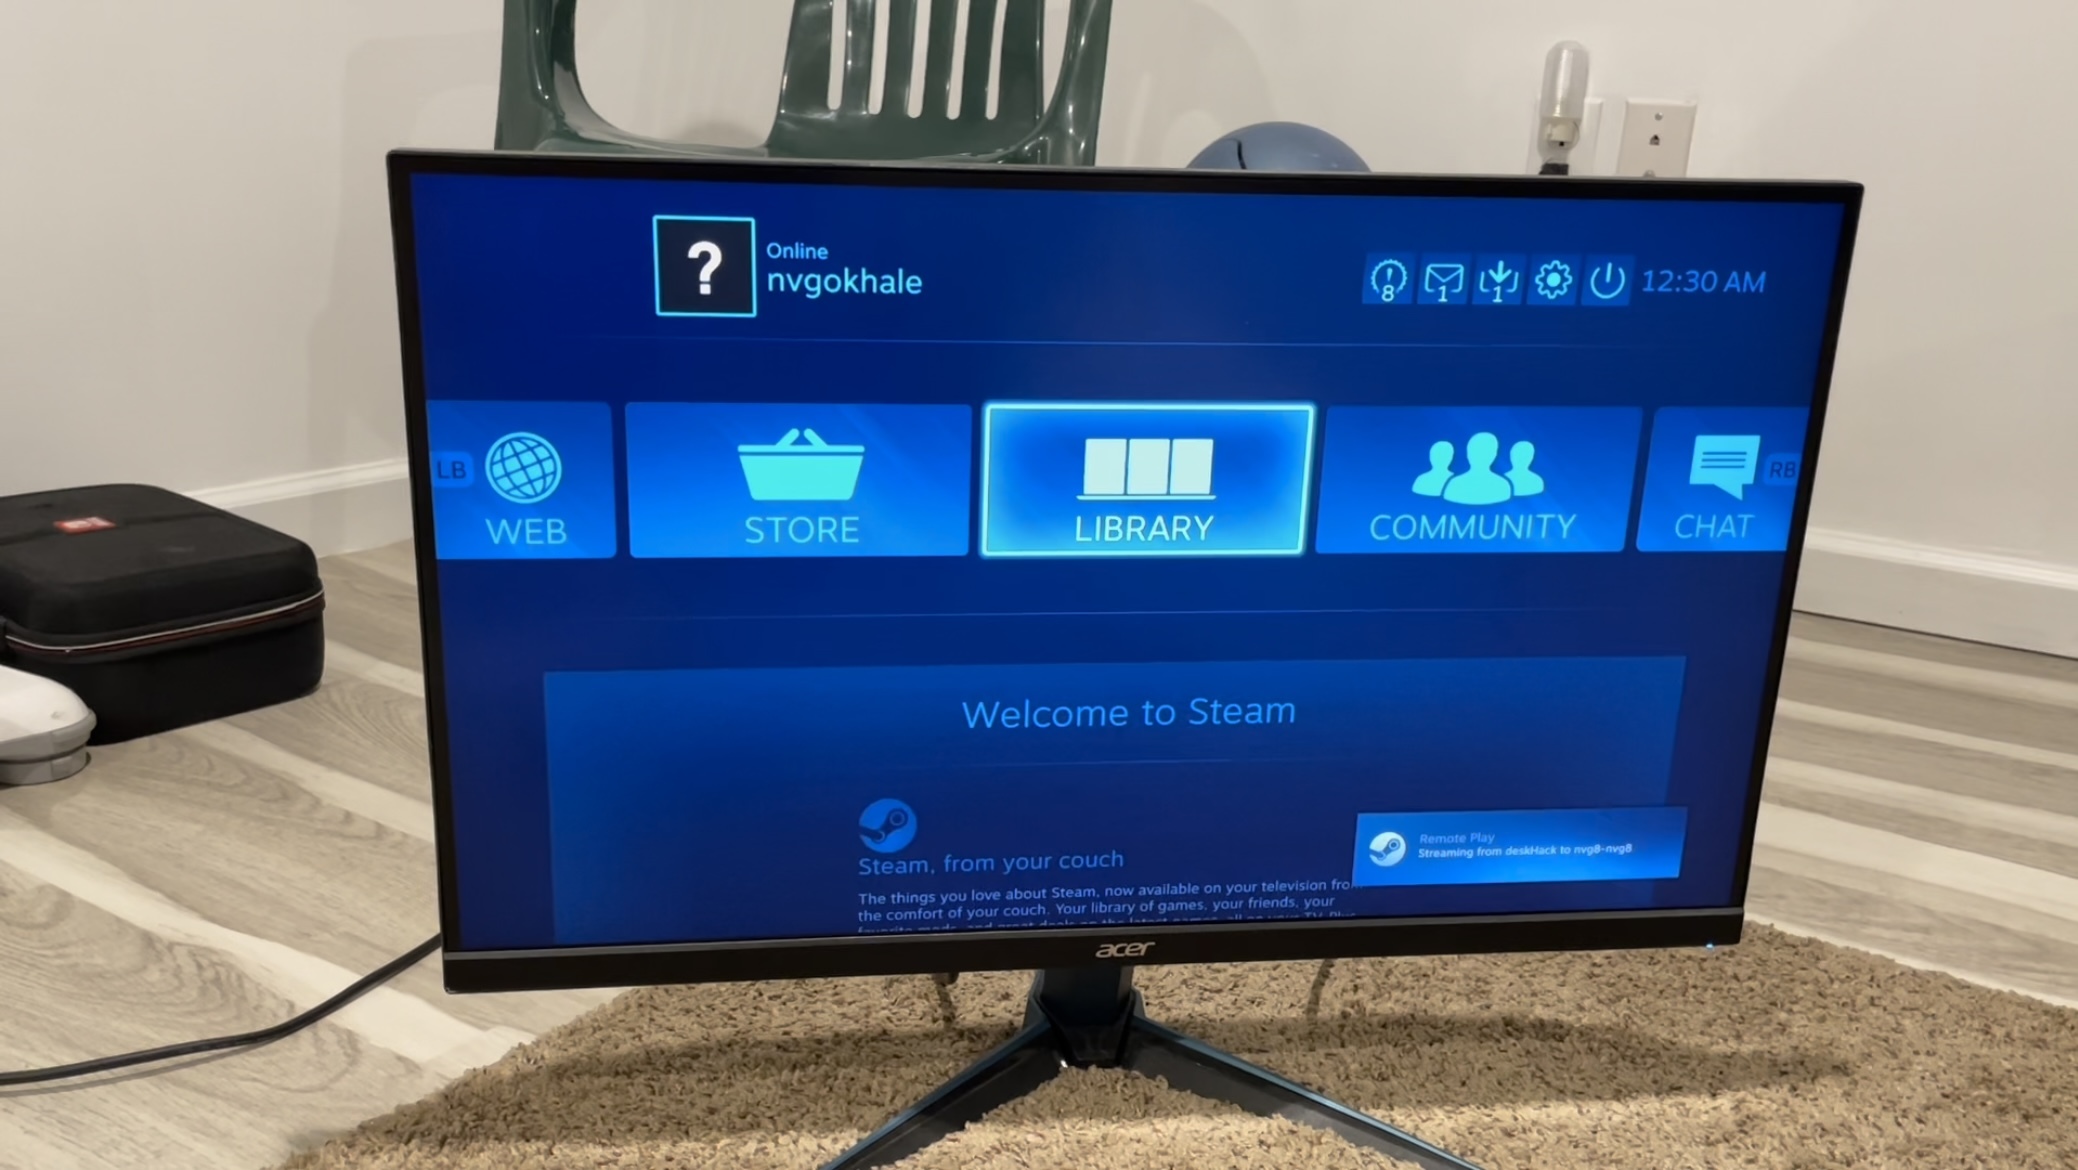
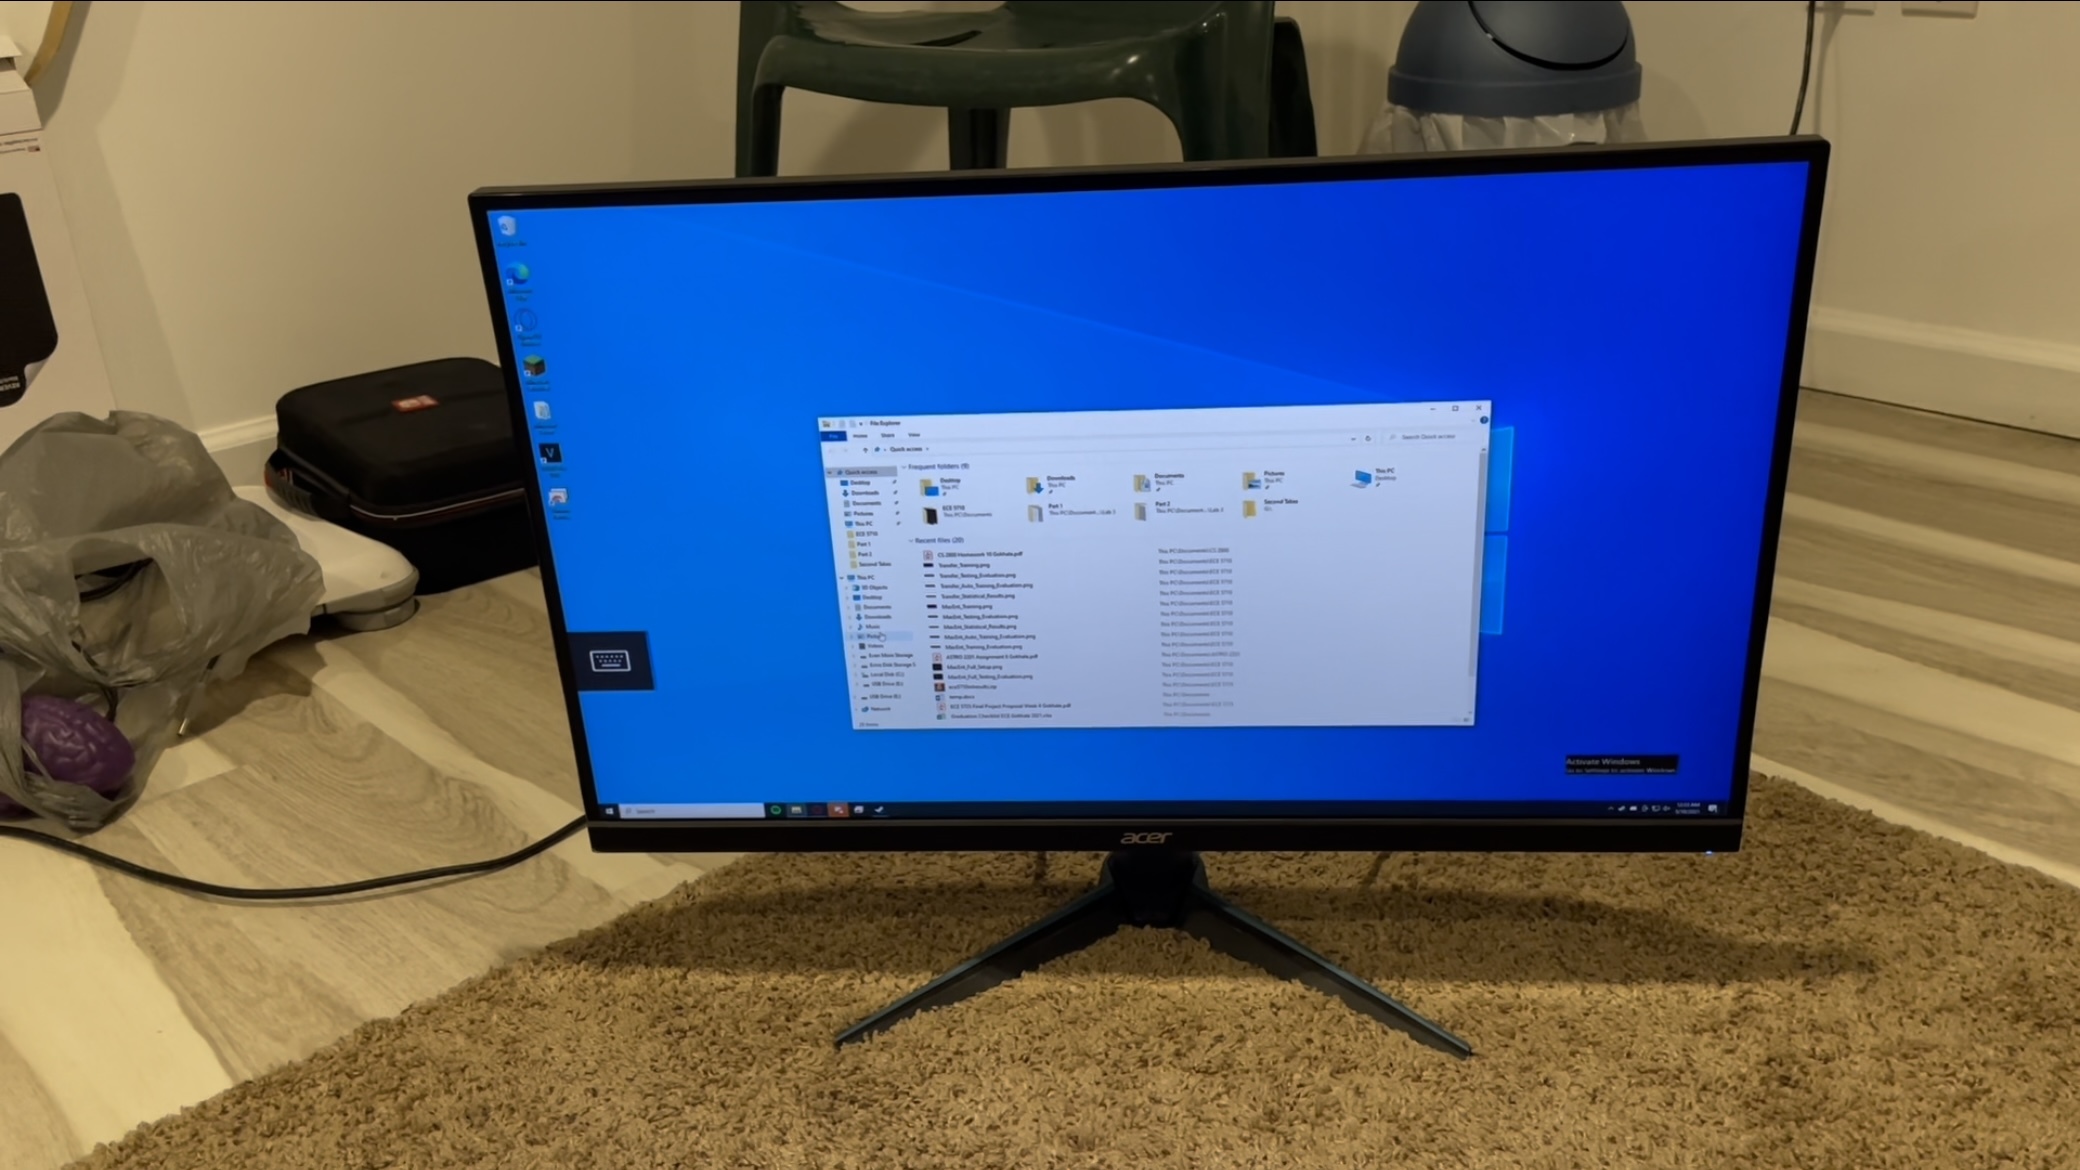
- The Steamlink package, overall, was created with the intention and purpose of solely streaming games between platforms/machines. It was developed in order to make a network link between two nodes and utilize that to transmit data between them (in this case, games). However, this can be positively exploited/manipulated to safely access the desktop and other features of the host computer. In this project, a bypass was coded (which can be seen in the differing source files from the Steamlink package in the Cornell Box submission) which would allow a user to, after closing the streamed version of Steam, use the Raspberry Pi 4 as a virtual, streamed, and Remote Desktop machine. Normally, this action would be impossible, as Steam would close a user out of Steamlink and return them to the Raspberry Pi 4 desktop if they attempted to leave Steam. However, this project allows one (while using Steamlink as the source of the connections) to smoothly access and use their game-streaming machine's full desktop and all other utilities. This project successfully tested this, without any interruptions or errors, on a Windows 10 machine running Steam. Fully using Windows 10 on a Raspberry Pi 4 was made possible by this endeavor!
Bonus/Extra Features:
- Of the two secondary components appended to the completed version of this project, the first involved the automation of several of the segments which, when holistically combined, make up this project. In order to automate the Minecraft Server such that, upon boot, the Raspberry Pi 4 would be preprogrammed to launch/execute the server files, a service was created and established within the
/lib/systemd/systemdirectory of the Raspberry Pi 4's boot files labeled "minecraftserver.service". This, albeit, simple file contained code to run the server in the background of the system upon boot unless otherwise specified (such as by disabling or force quitting/ending it). Its contents can be seen here:
[Unit] Description: Minecraft Spigot Server [Service] User=pi Group=pi Restart=on-abort WorkingDirectory=/home/pi/minecraft/ ExecStart=/usr/bin/java -Xms512M -Xmx1008M -jar /home/pi/minecraft/spigot-1.16.5.jar nogui [Install] WantedBy=multi-user.target
This code snippet, when enabled, forces the machine to execute the previously described java -Xms512M -Xmx1008M -jar /home/pi/minecraft/spigot-1.16.5.jar nogui command on startup. As a result, the Raspberry Pi 4 is, essentially, turned into a dedicated platform only for the purpose of hosting the server. This service, once coded and implemented as a ".service" script file within the aforementioned directory, must be enabled in order for this to be possible through the sudo systemctl enable minecraftserver.service command in a terminal window. The "enable" portion of this can be modified into "disable" in order to toggle the service off upon the next, consecutive boot. Additionally, it can be replaced with "start" or "stop" to forcibly begin or end the service without requiring a reboot, respectively.
This feature is also implemented for running Steamlink; however, an alternative methodology was used in order to demonstrate the ideologies presented in the various labs across the semester. This utilized the "autostart" file in /etc/xdg/lxsession/LXDE-pi. Its contents are seen here:
@lxpanel --profile LXDE-pi @pcmanfm --desktop --profile LXDE-pi @xscreensaver -no-splash #steamlink
These commands each indicate a specific, individual script to be executed upon launch. Since the modified package is still stored under "Steamlink", appending it to the end of this file will cause Steamlink to run on boot. Rather than through a service and system-based service commands, the option/decision to enable or disable the execution of Steamlink on startup can be made by adding a # symbol before it (this comments it out, essentially disabling it from running).
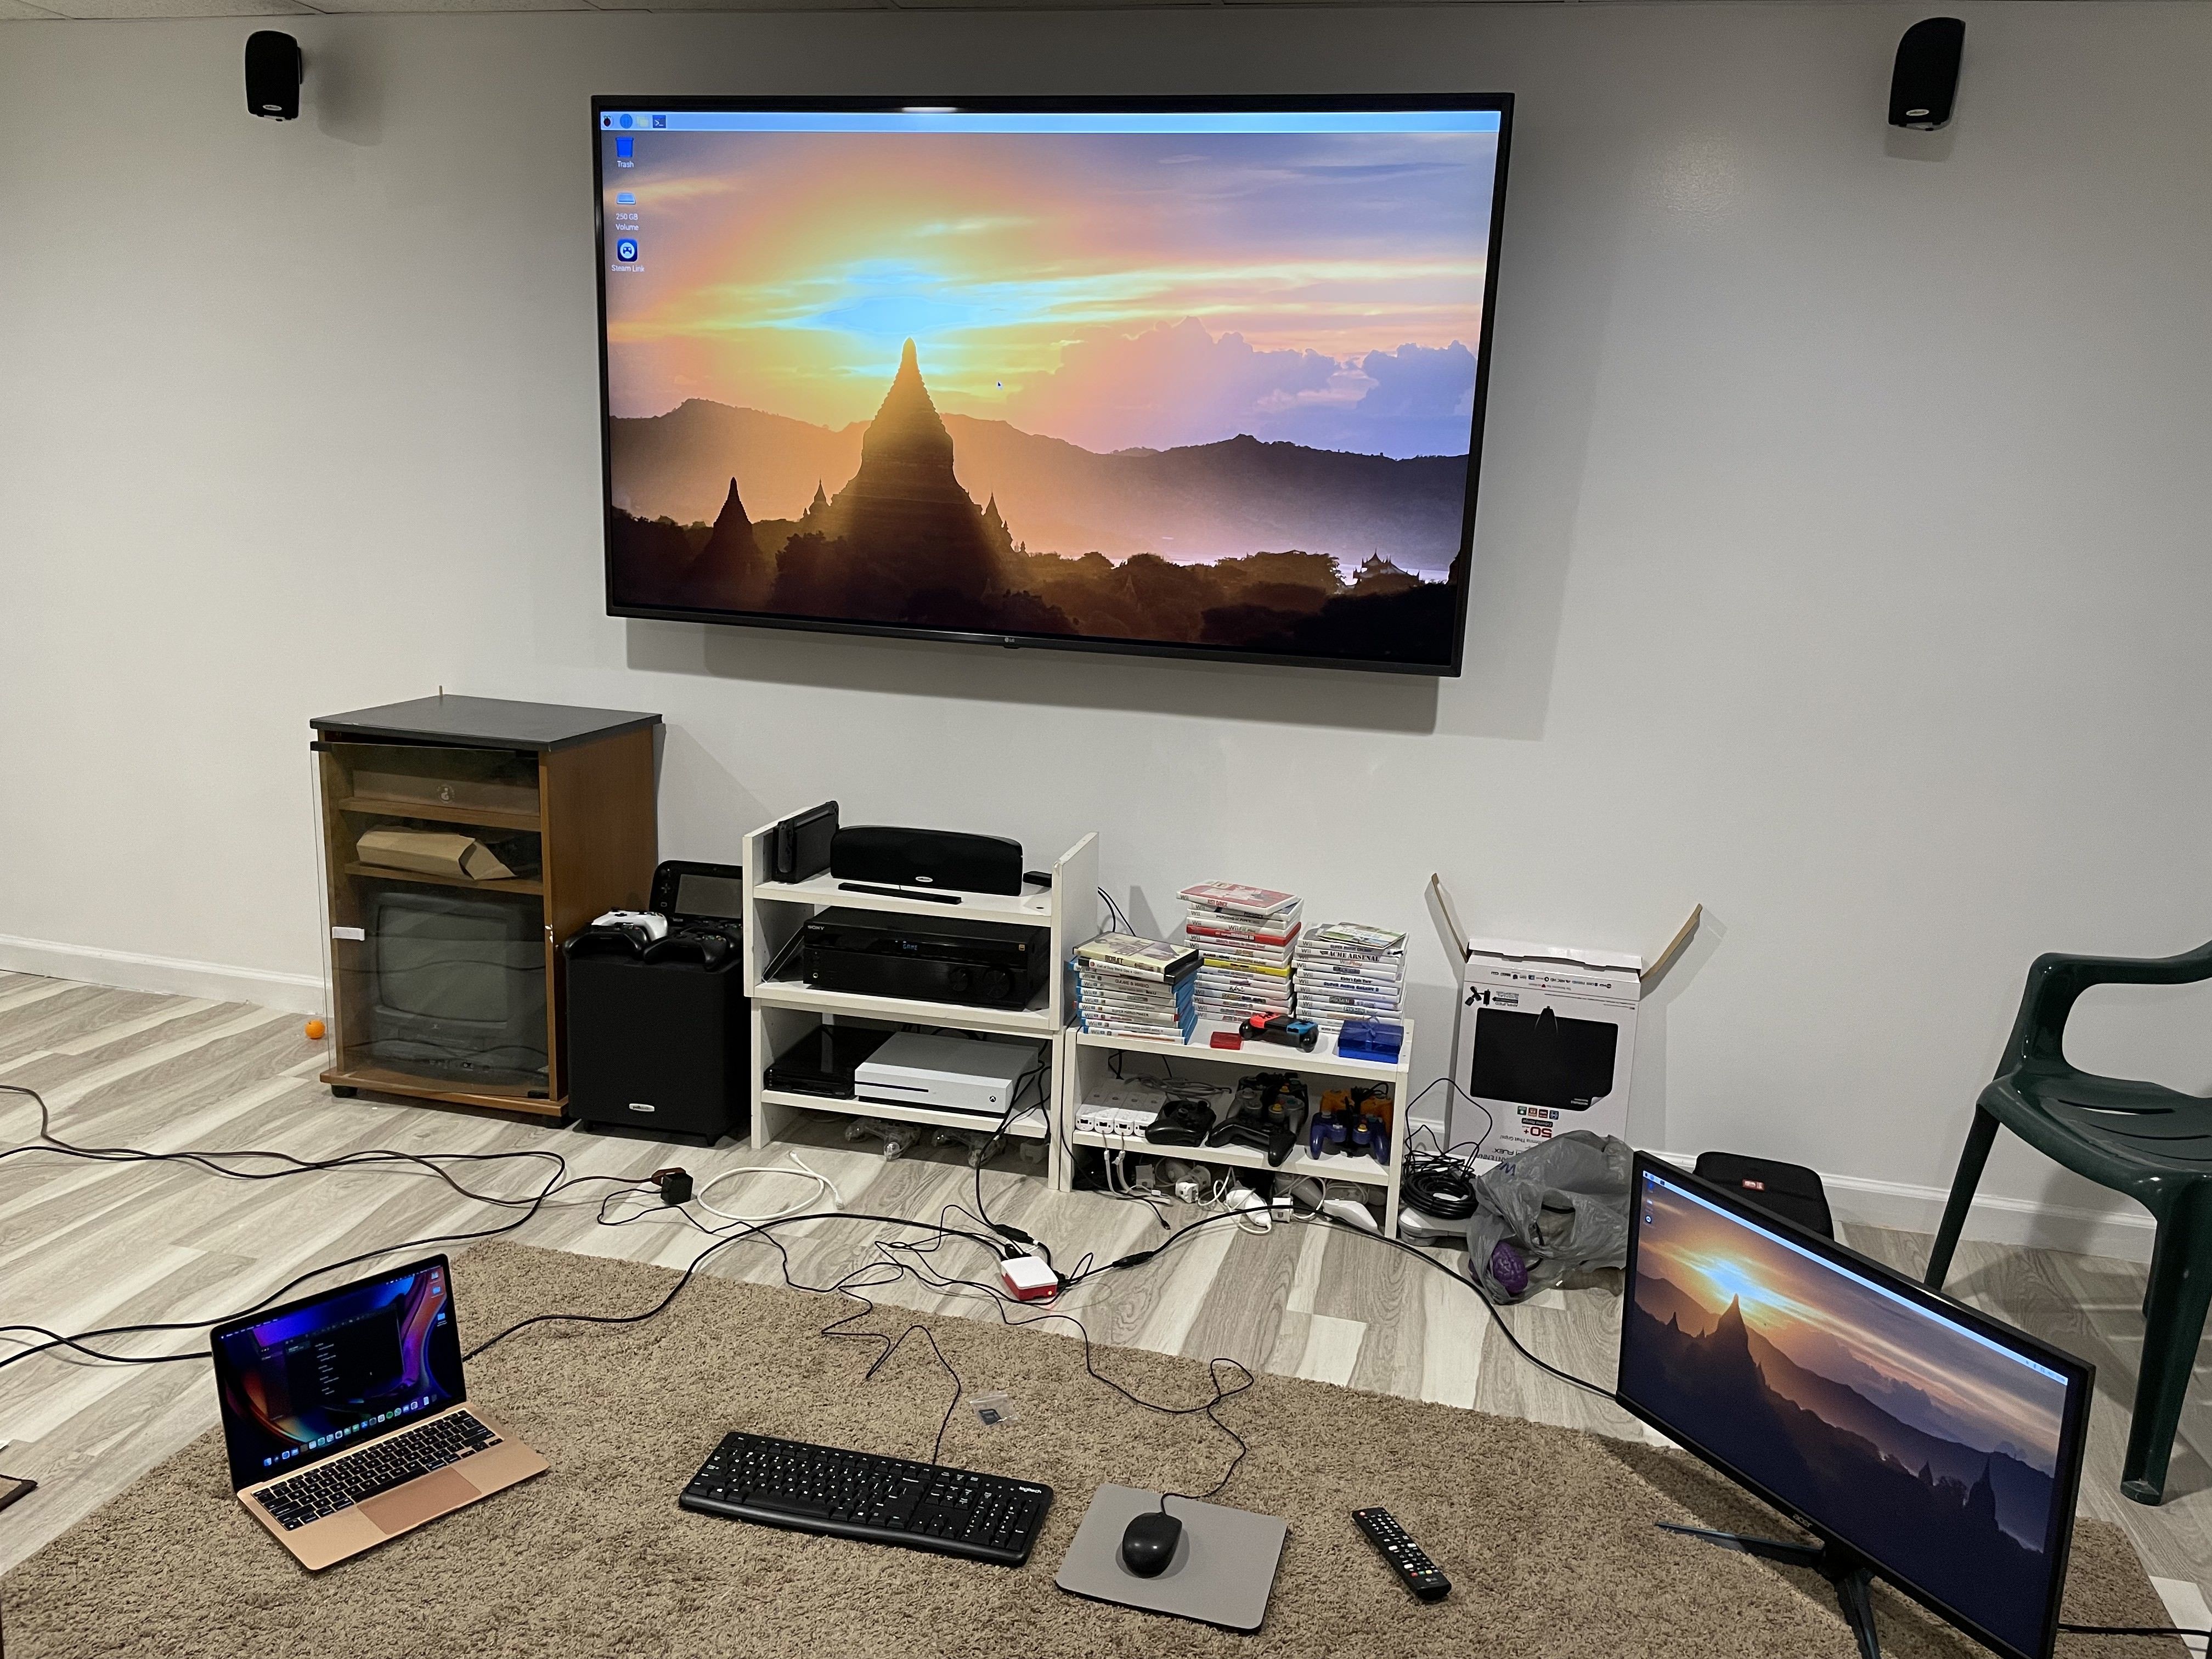
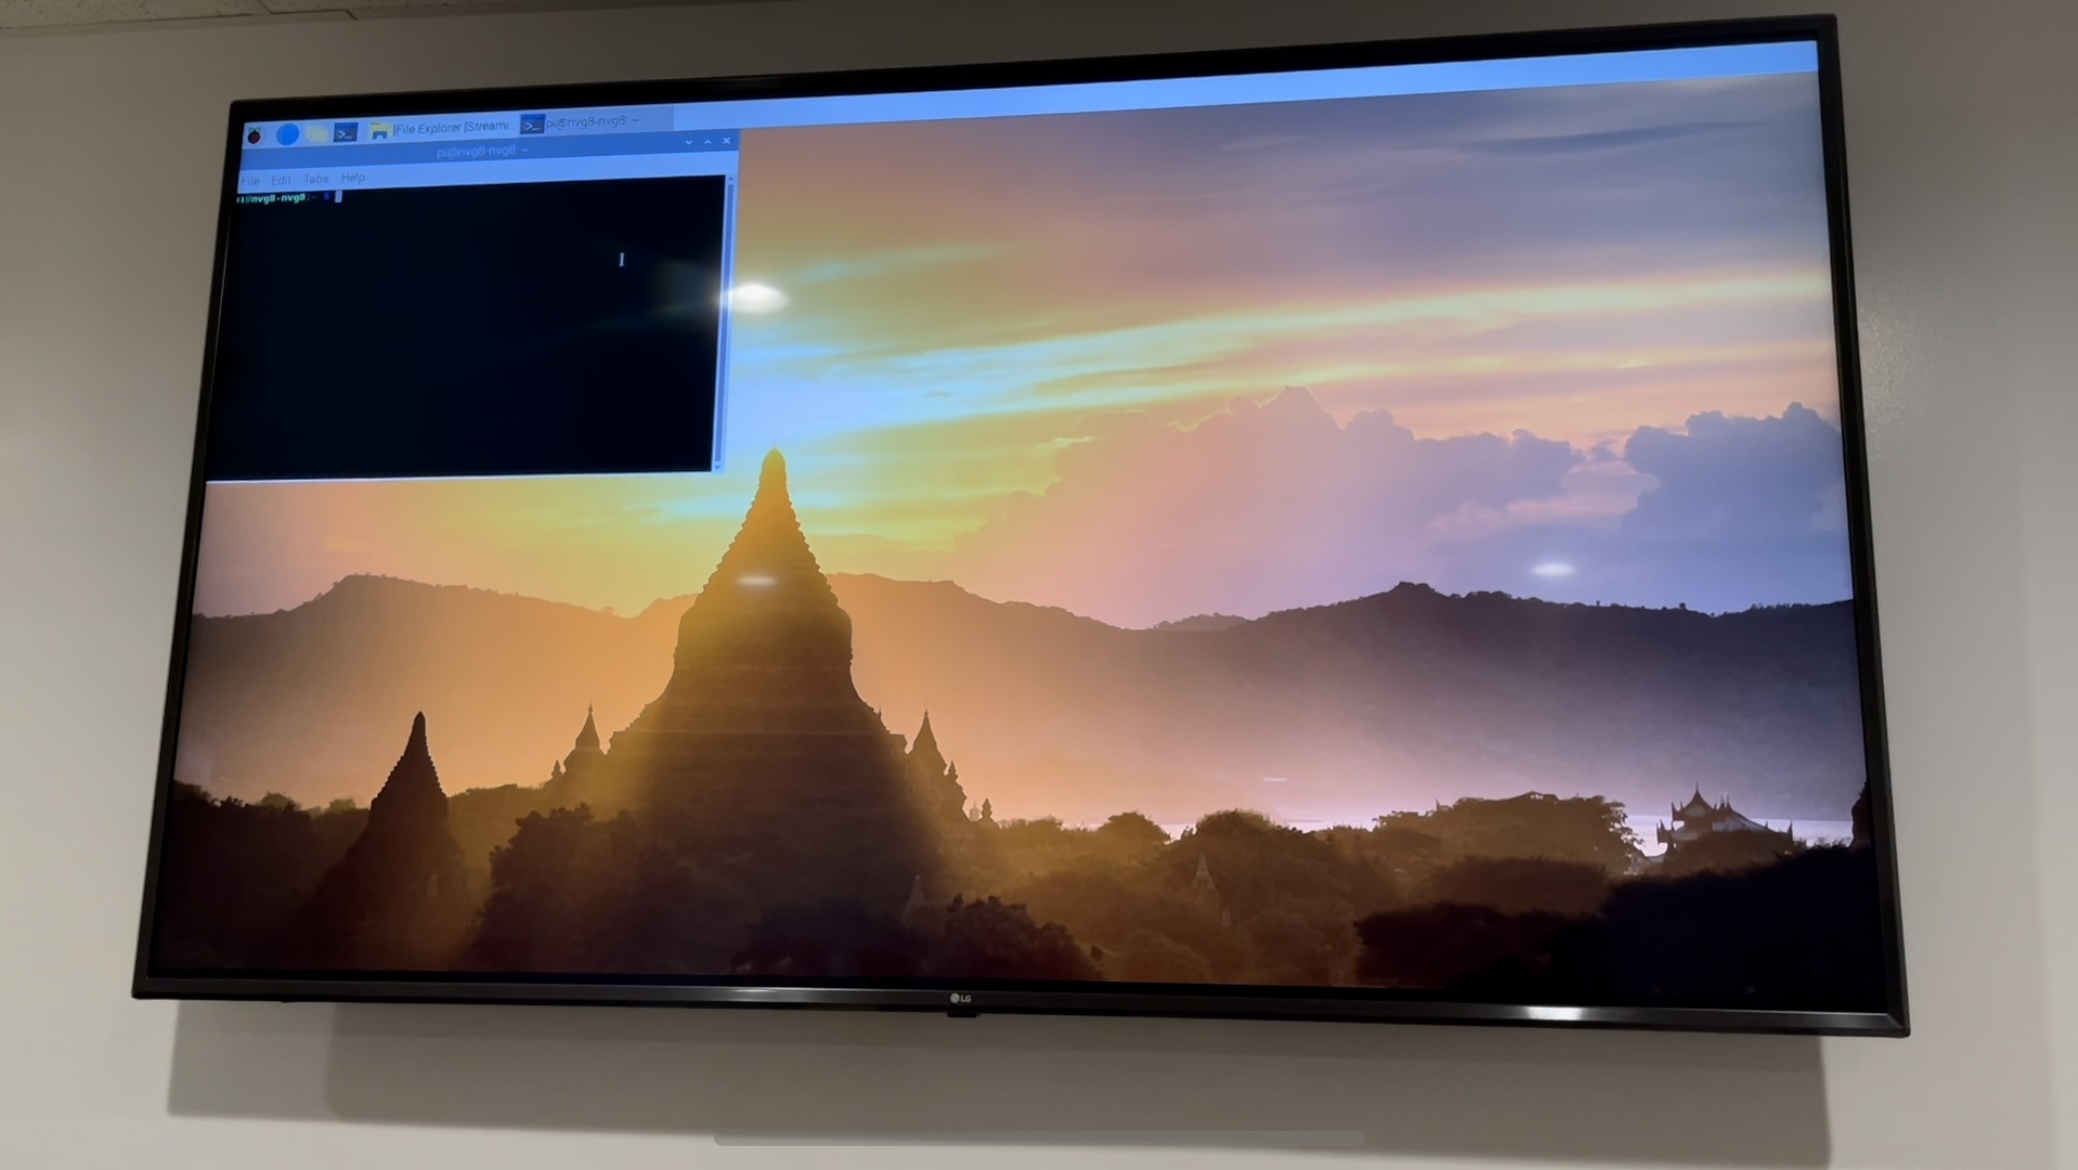
- The second feature added to this surrounds multiple outputted displays. During the instantiation of every boot cycle, the system will check whether or not dual monitors are attached to the Raspberry Pi 4 against just one. If a singular display is detected, then the Steamlink software will output audio and video onto that display and overlay it (as fullscreen). In order to return to the Raspberry Pi 4 desktop, the software must be closed or force quitted. However, in the case where two displays/monitors are detected and the machine boots into a mirrored screen state, the Steamlink software has been designed to intelligently decide and output only onto the second screen. Additionally, audio and video from the Remote Desktop and any other Steamlink-based game streaming or otherwise will be put onto this display, instead of mirrored. As such, this approach can be considered more convenient than one lone monitor, as it is possible to simultaneously work on the streamed workspace while having access to the original desktop as well. In the corresponding settings menus, the audio option can also be changed to output it on the desired monitor's speakers or through the audio jack. Most of the code to edit the way this is handled is in added scripts as well the config.txt file, where changes were made in order to set the proper resolution, audio channels, and HDMI-video modes.
Testing and Results
A majority of the testing suite and benchmarks obtained in order to ensure the successful completion/implementation of the Minecraft Server and Remote Desktop environment was done through experience-oriented testing as well as metrics recorded and analyzed via built-in Linux/Unix commands and processes. htop provided a wonderful graphical user interface (GUI) for interpreting the effects of the Minecraft Server and Steamlink on the entire system. This Raspberry Pi 4 comes equipped with 4 cores (quad-core) as well as 2 GB of RAM, as indicated. The findings seem to show that the Minecraft Server places strain on the RAM, since as previously mentioned, this amount/quantity is allocated and limited by the corresponding "Java" terminal command input. This never appeared to exceed the 1008 MB (about 1 GB) limit placed on it, and htop shows it between its predetermined values at all times (usually maxed out). This value was specifically chosen, as it is well below the theoretical maximum of the entire system, and it is also at the threshold at which lag, stuttering, or impact to the system was not visible.
For such a relatively and comparatively diminutive machine, the Raspberry Pi 4 exceeded expectations and performed phenomenally in several of the categories it would otherwise be considered inferior despite its lower-grade technical specifications. For example, in terms of the Minecraft Server, the Raspberry Pi 4 was tested with up to 10 players (with the default maximum on the server being 20 and changeable). It was also run with intensive modifications (mods) such as "Feed the Beast". These were the associated thresholds at which lag began to be seen, and the server provided feedback, notifying the host user/admin that it was "unable to keep up". While Steamlink was running in the background or as a foreground process, the load appeared to be mainly centered around the CPU cores instead of RAM. The Raspberry Pi 4 did an excellent job efficiently managing which cores were loaded and queued the most, and it was impressively able to distribute operations among them all such that consistently above 50% CPU utilization was never witnessed on any core, even while streaming games or the entirety of a full Windows 10 based, desktop class machine remotely.
This final project hoped to incorporate numerous aspects of the many laboratory exercises and assignments throughout the semester in ECE 5725, including use of many Linux commands (such as sudo raspi-config), implementations of several shell/bash scripts as well as automation techniques and procedures! It seems to have, at least, touched upon every purpose and intention previously outlined to some extent as well! Hopefully, these philosophies and continued work and interest will increase its scope and make its viability widespread!
Issues/Conclusions
While attempting to succeed in completing this endeavor, some bugs and/or other errors arose which required troubleshooting or implementing various workarounds. The most significant of these had to do with audio transmission problems. Because of the nature of incorporating multiple displays and having a script check for the quantity of said displays on boot (whether or not a single monitor or dual screen system was in place), the system had to execute differing portions of code each time it was started up. As a result, an error occurred which involved the system incorrectly passing audio through an erroneous HDMI port. This was resolved by setting specific parameters in config.txt as well as adding lines of code within the modified Steamlink library to pass audio into the desired channel.
Another issue which arose and was (mostly) resolved was issues with native screen resolution and display quality and frequency/frame rate. After the Raspberry Pi 4 booted up, following the coding and successive integration of the Steamlink package modifications, the screen would, rather than being automatically set to the proper resolution and correct frame rate, have to be configured manually each time. This tedious result led to a workaround which forced a certain, specified resolution (native to the displays utilized for the demonstration) every time the system started. While this fix did resolve the issues which came up, it is still not a permanent solution, as there still seems to be a slight disparity that exists along the borders of one of the monitors (the TV), and the corresponding files which integrated it would still need to be adequately modified depending on whether or not an alternative display would be used with different settings. However, regardless of these temporary setbacks, the overall experience and results were better than expected.
Bug Fixes and Future Work
Of course, as with any development such as this, there is always room to improve and expand upon the implemented features. Some of the nuances in implementation could use refinement as well. For example, although this matter was touched upon in the "Conclusions" section, further tinkering and development with scripts that natively adapt to the external displays at hand and do not require given manual screen configurations would be ideal in a project such as this. Additionally, other improvements, such as adding more RAM or scaling multiple Raspberry Pi 4s would provide insight into the potential that exists within the subtopics of this project (such as the extent to which the Minecraft Server can be run without interference/slowdown in regards to mods or number of active players).
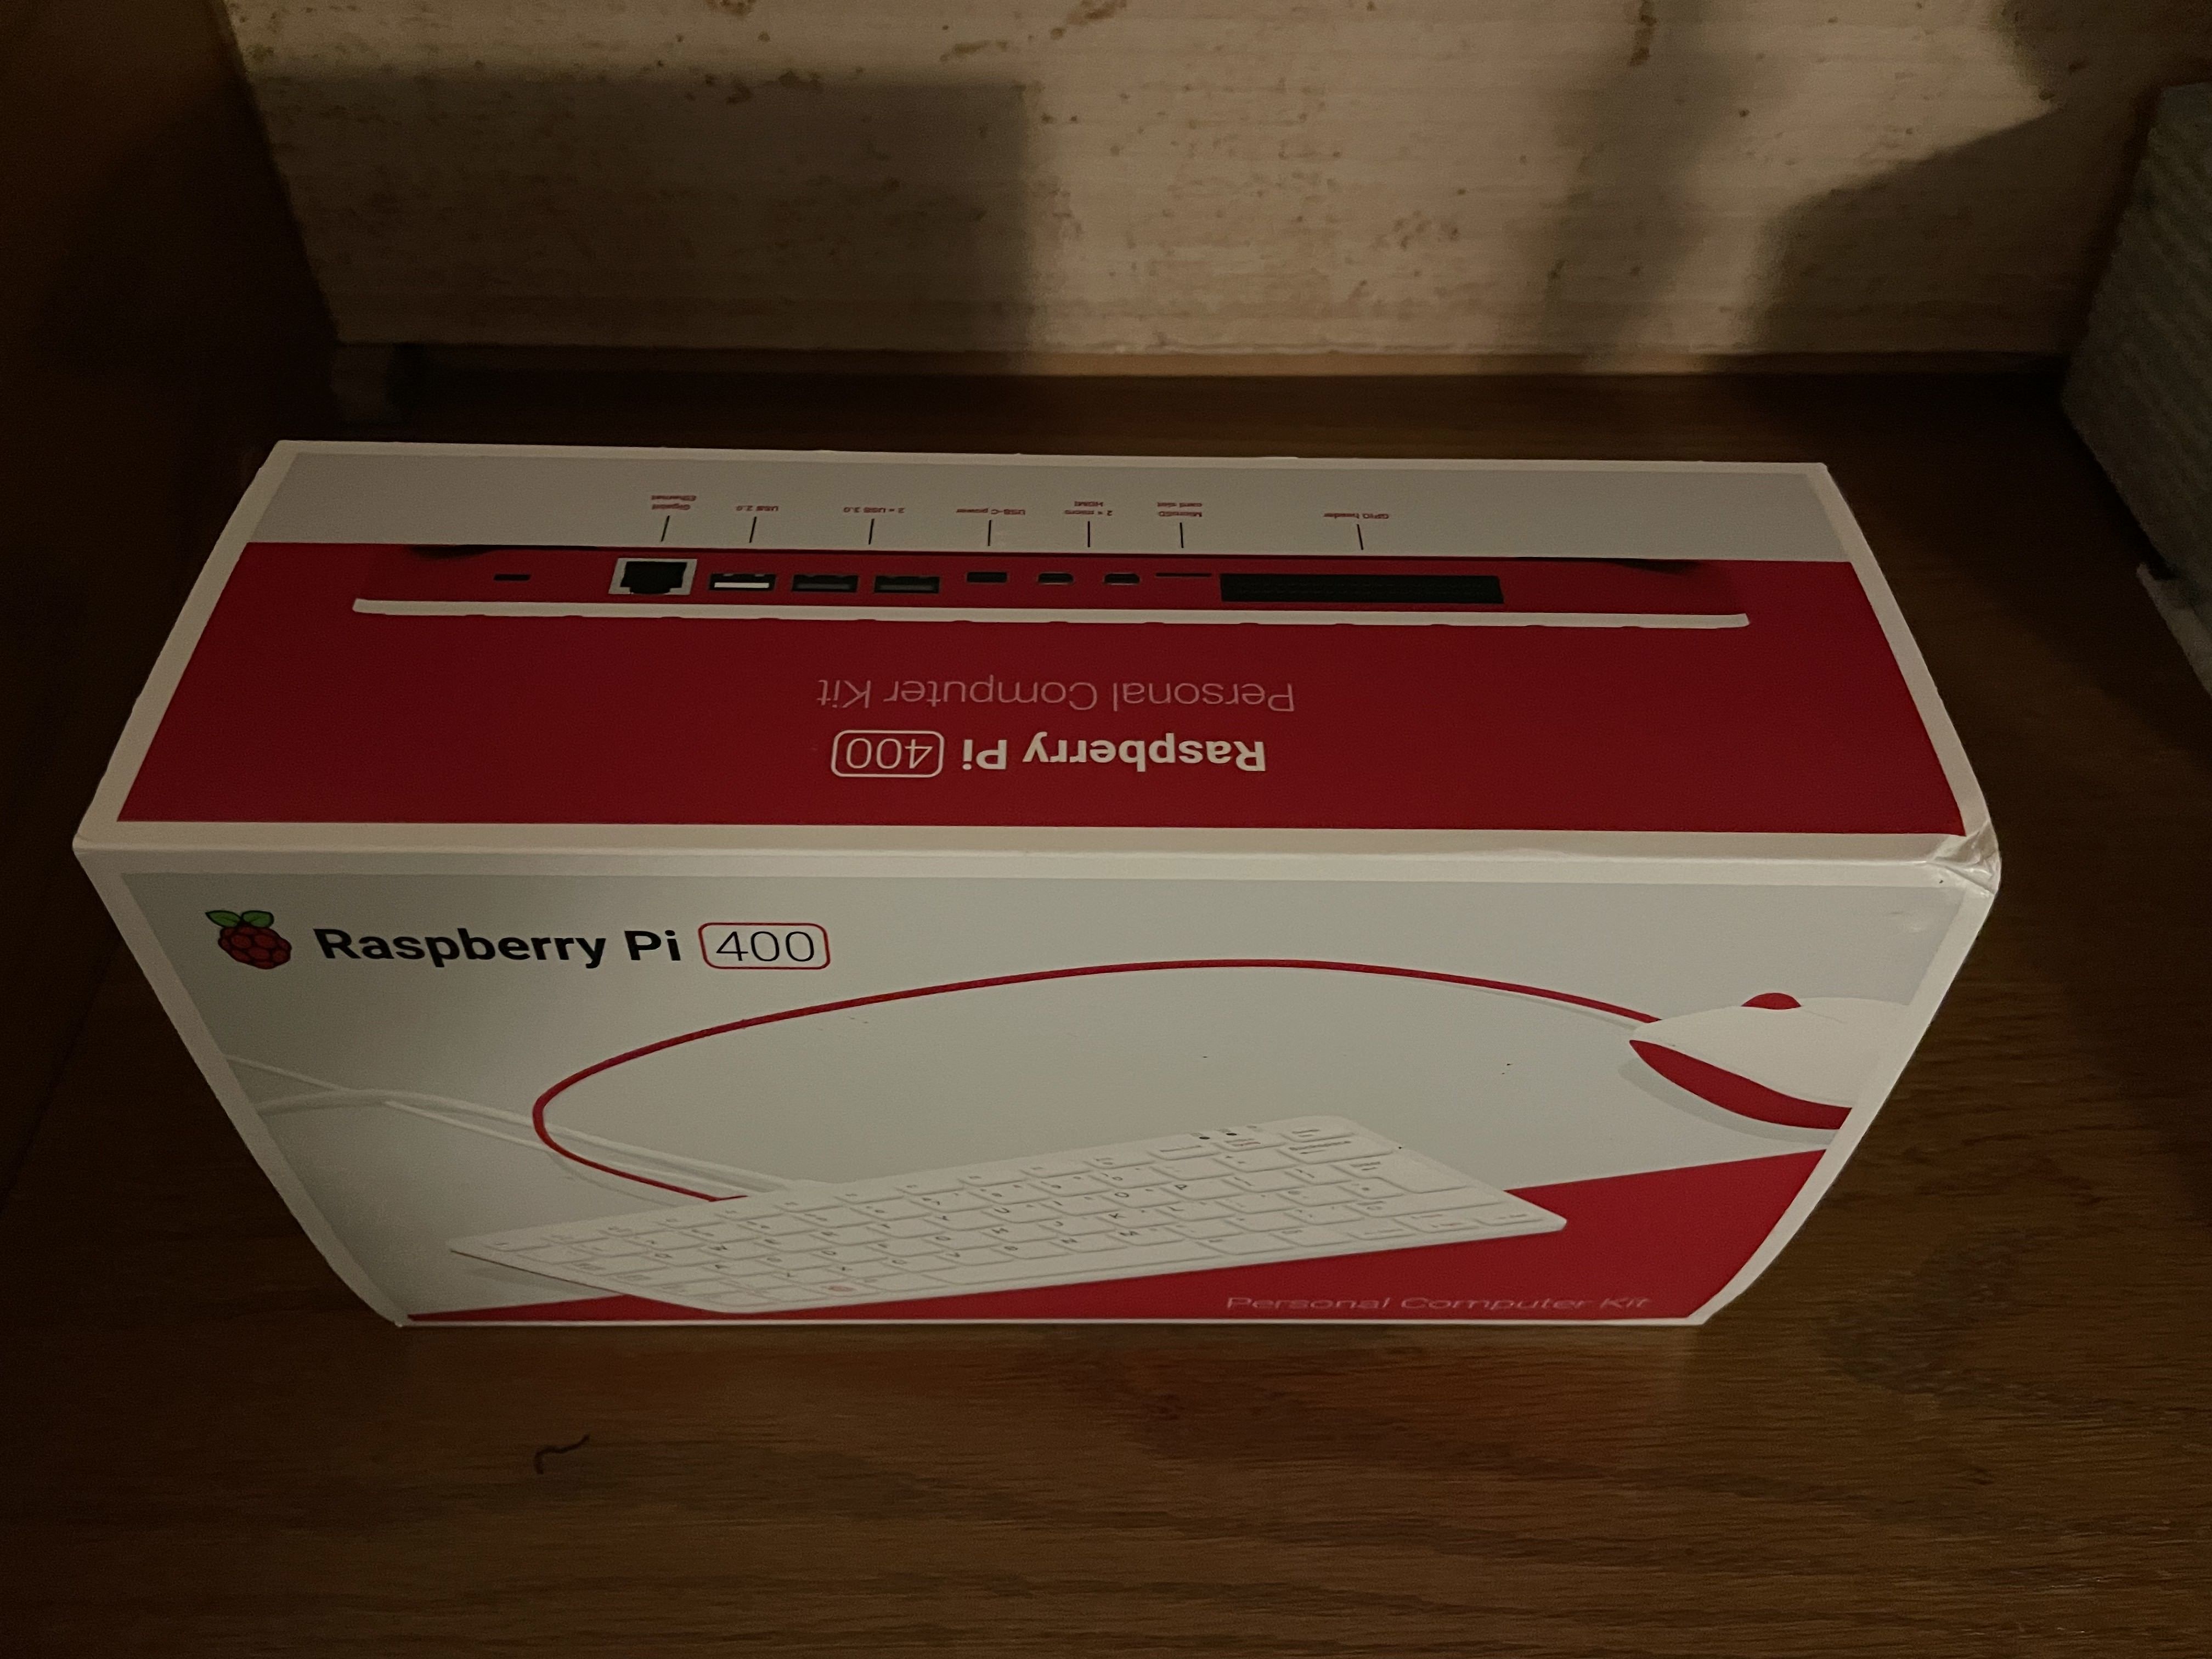
Similar projects and future endeavors are expected to continue with interest via the new, personally purchased Raspberry Pi 400 Series!
Budget/Setup (Supplies)
List of Supplementary Materials Used:
- Two external displays (one TV and one monitor)
- An extra micro-HDMI to HDMI converter/adapter ($13)
- A wired keyboard and mouse ($10)
- A 75-ft. CAT6 Ethernet Cable ($15)

The approximate total budget or cumulative cost of all of the auxiliary products and technologies utilized in this project is $40. This price covers the expenses of necessary technologies in order to demonstrate and show each incorporated feature of the Minecraft Server and streamed, Remote Desktop experience. Every other piece of hardware was included within the shipped laboratory kit, so no other purchases were needed in order to complete the aspects of this endeavor.
Minor Additional Details
- All additionally implemented scripts and/or code can be found in the ".zip" file, shared on the Cornell Box website folder
- Furthermore, all modifications or altered boot files (including config.txt and autostart) can be found in the same compressed file (too large to upload on GitHub)
- Images for the project report/website and of the demonstration can be found on the Cornell Box website or the "/img" folder in the Canvas submission
Team
The team for this project included only Nidhish Gokhale.

All of the code, website, video filming, and other project submission materials (such as the demonstration) was done solo, along with all of the other labs, homework, and ECE 5725 course items! I would like to personally and especially thank Professor Skovira along with all of the ECE 5725 staff during this difficult semester for all of their provided personal and continued support!
References
For more information, please see these sites for the packages used as a foundation for the aspects of this project
Minecraft Server Packages:
SpigotMC - An API for Minecraft Servers customized to minimize latency as well as increase performance
CraftBukkit - An open-source Minecraft Server extension designed to simplify and add additional services to the vanilla version
Original, Unaltered Steamlink Package:
Steamlink - Software used to stream games across machines over the network and manipulated to establish a Remote Desktop connection
I would just to reiterate, once again, the appreciation I have for the patience of Professor Skovira as well as the TAs patience throughout this arduous semester. It has been a difficult time for all, and I am thankful that I was able to receive such personal assistance over the course of the class. Thank you all very much; I know it was hard to deal with the distance and lack of a synchronous interaction. This has definitely not gone unnoticed!
Code Appendix
This site is hosted at: https://pages.github.coecis.cornell.edu/nvg8/ECE_5725_Final_Project_Gokhale/, and its corresponding GitHub repository can be found here.